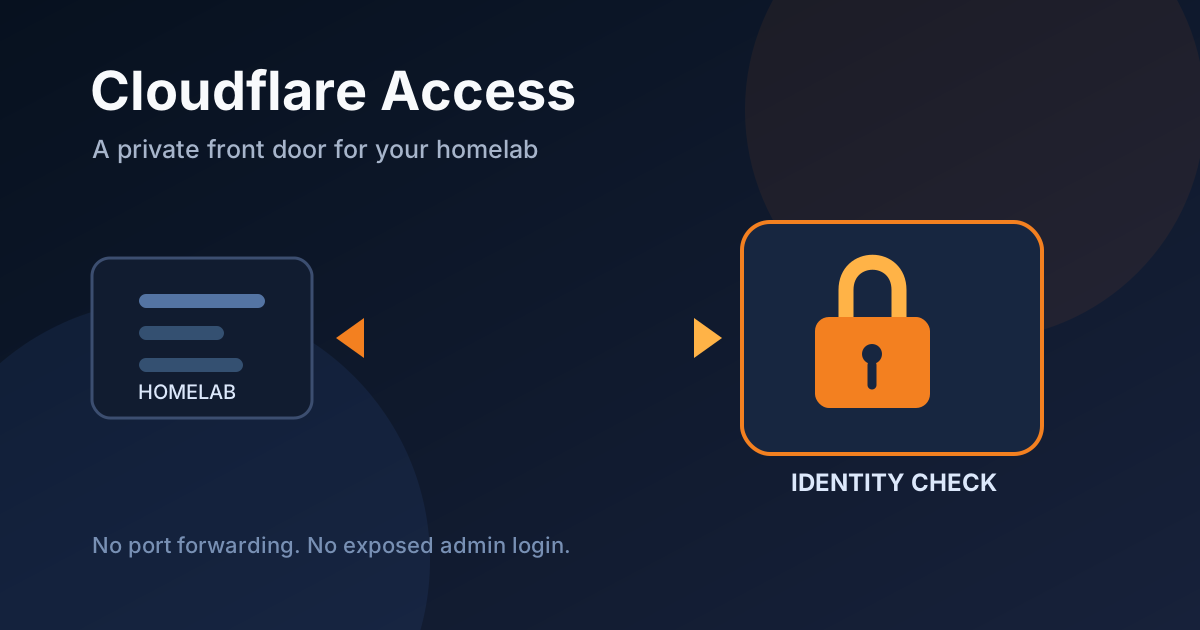
Cloudflare Access for a Private Homelab
Put Cloudflare Access in front of private self-hosted apps with a tunnel, Docker, and identity-based policies instead of exposed login pages.
A login page is not a front door. It is a sign on the front door telling strangers which lock to attack.
For a public app, that exposure may be the price of doing business. For Portainer, Grafana, a private dashboard, or an admin-only Nextcloud instance, it usually is not. Those apps do not need to be discoverable before a real person has proved who they are.
Cloudflare Access is a practical way to put an identity check before your self-hosted app. Pair it with a Cloudflare Tunnel and you can remove router port forwarding entirely. The server makes an outbound connection to Cloudflare; visitors authenticate at the edge; only approved requests reach the container.
That is a much better default than putting every admin tool behind HTTPS and hoping its own login form is enough.
The short version
This setup has three moving parts:
cloudflaredcreates an outbound tunnel from your server to Cloudflare.- A public hostname, such as
grafana.example.com, maps through that tunnel to an internal Docker service. - Cloudflare Access asks the visitor to authenticate and checks an allow policy before proxying the request.
The application still needs its own authentication. Access is a gate in front of the gate, not a reason to turn off app accounts, MFA, updates, or backups.
This is not a fully self-hosted identity stack. Cloudflare participates in every request to the protected hostname. That trade-off is worth saying out loud. If keeping the entire access path under your control matters more than convenience, use a VPN, Caddy client certificates, or a self-hosted SSO stack instead.
What Cloudflare Access is good at
I would use Access for small, private web surfaces:
- Grafana, Uptime Kuma, Portainer, and other admin dashboards
- a staging site that should be seen by a few people, not indexed by search engines
- a family app where email-based authentication is easier than explaining a mesh VPN
- a homelab with a changing home IP or no appetite for port forwarding
It is especially useful when the server is behind CGNAT. A tunnel needs outbound HTTPS access, not an inbound public IP. That is a welcome escape hatch for home internet connections that treat port forwarding as an optional feature.
I would not use it as the only control for SSH, databases, Docker sockets, or a whole flat private network. Give those services private network access through WireGuard, Tailscale, or another network-level design. A browser gate solves a browser problem.
🚀NordVPN
Protect your admin session on public Wi-Fi while you manage a self-hosted server.
Affiliate link — we may earn a commission at no extra cost to you.
Before you start
You need:
- a domain managed by Cloudflare DNS
- a free Cloudflare account with Zero Trust enabled
- Docker Compose on the server
- a self-hosted HTTP service you want to keep private
- an email address or identity provider that will be allowed through Access
Do not begin by exposing your app on 0.0.0.0. The whole point is to give the tunnel a private destination. Containers on the same Compose network can already talk to each other by service name.
For this example, the protected service is Grafana on port 3000. Substitute your own service name and port where needed.
Step 1: Create a remotely managed tunnel
Open the Cloudflare Zero Trust dashboard, then go to Networks -> Tunnels -> Create a tunnel. Choose Cloudflared and give it a boring, useful name such as homelab-edge.
Cloudflare will show an installation token. Treat it like a password: anyone holding it can run a connector for this tunnel. Copy it into a .env file on the server, not into your Compose file and definitely not into Git.
mkdir -p ~/cloudflare-access
cd ~/cloudflare-access
umask 077
printf 'CLOUDFLARE_TUNNEL_TOKEN=paste-the-token-here\n' > .env
The umask 077 makes the new file readable only by your current user. Check that before continuing:
stat -c '%a %n' .env
# Expected: 600 .env
The dashboard lets you use a locally managed tunnel with a credentials JSON file instead. That is useful for infrastructure-as-code setups. For one homelab connector, the token-based, remotely managed tunnel is less fiddly and less likely to become a weekend project.
Step 2: Keep the app private in Docker
Here is a minimal Compose file. Notice that Grafana uses expose, not ports. expose documents the internal port and makes it available to peer containers without publishing it to the host network.
services:
  grafana:
    image: grafana/grafana:latest
    container_name: grafana
    restart: unless-stopped
    volumes:
      - grafana-data:/var/lib/grafana
    environment:
      - GF_SECURITY_ADMIN_PASSWORD=change-this-now
    expose:
      - "3000"

  cloudflared:
    image: cloudflare/cloudflared:latest
    container_name: cloudflared
    restart: unless-stopped
    command: tunnel --no-autoupdate run --token ${CLOUDFLARE_TUNNEL_TOKEN}
    env_file:
      - .env
    depends_on:
      - grafana

volumes:
  grafana-data:
Start it and verify that both containers are alive:
docker compose up -d
docker compose ps
docker compose logs --tail=50 cloudflared
The tunnel log should report a connection being registered. If it loops on authentication errors, regenerate the connector token in the Zero Trust dashboard and replace the value in .env.
The common mistake here is adding this out of habit:
ports:
  - "3000:3000"
Do not do that for a private app. It creates a path that skips Access completely for anyone who can reach your server’s IP. If you need a local emergency path, bind it explicitly to loopback instead:
ports:
  - "127.0.0.1:3000:3000"
That is reachable through an SSH tunnel from your own machine, but not from the public internet.
Step 3: Map a hostname to the internal service
Back in the tunnel page, add a Public Hostname. Use a dedicated hostname such as grafana.example.com, then set the service type to HTTP and the URL to:
http://grafana:3000grafana is the Compose service name, resolved over Docker’s internal network. It is not a public DNS record and it does not need to be.
Save the hostname. Cloudflare creates the required DNS record for the tunnel. Give it a minute, then open the hostname in a private browser window. At this point the app may load directly, which is expected. The tunnel works, but the policy does not exist yet.
Step 4: Create the Access application and policy
In Zero Trust, go to Access -> Applications -> Add an application. Select Self-hosted, name it Grafana, and enter the same hostname: grafana.example.com.
For a small personal setup, the simplest policy is an Allow rule based on specific email addresses. Add your address and save. Cloudflare will ask that address to authenticate using the selected login method before it sends traffic onward.
Email one-time PIN is fine for one or two trusted people. For a team, use an identity provider you already control, such as Google Workspace, GitHub, Microsoft Entra ID, or a SAML/OIDC provider. The policy should be boring and narrow:
- Action: Allow
- Include: emails or an identity group you explicitly trust
- Session duration: choose a short, tolerable window for an admin app
- Purpose justification: do not enable it unless you genuinely need the extra prompt
Do not use an allow policy for Everyone. That is just a public application with an extra redirect. It feels protected right up until someone discovers it is not.
Now repeat the private-window test. You should see the Access authentication page before Grafana. Sign in with an allowed identity, then sign in to Grafana with its own account. Try a different browser profile or an unapproved address too. A security control that only gets tested with the happy path is a decorative security control.
The checks that actually matter
A green tunnel badge is not enough. Test the boundaries after every change.
# On the server: Grafana must not be published on all interfaces
docker compose ps
ss -ltnp | grep ':3000' || true

# Inspect the effective published ports, if any
docker inspect grafana --format '{{json .NetworkSettings.Ports}}'
With the Compose example above, Docker should report no host port binding for 3000. From a device outside your home network, request the hostname and make sure the first response is the Access flow, not the application login page.
Also inspect the host firewall. A tunnel removes the need to open 80 and 443 for this application, but it does not clean up rules you already made. Closing unused inbound ports is still worth doing.
Sharp edges worth knowing
Access availability becomes part of your availability. If Cloudflare has an outage or your identity provider is unavailable, you may be locked out of the app. Keep a documented break-glass route, such as SSH access and a localhost binding, and protect that route well.
The origin service can still be bypassed if you publish it. Access protects the Cloudflare hostname, not a raw IP:port that Docker, a reverse proxy, or your router exposes separately. This is why expose matters.
Webhooks and API clients need a plan. A third-party webhook sender cannot complete an interactive login. Use a dedicated endpoint with signed webhook validation, a Cloudflare Service Token where appropriate, or keep that endpoint separate and locked down. Do not solve this by turning Access off for the whole app.
Do not confuse this with a VPN. Access is excellent for HTTP apps. It does not make every port on your server private, nor does it protect your laptop on hostile Wi-Fi. Use the right layer for the job.
Should you use this instead of a VPN?
For browser-only administration, yes, often. It is easier to give a trusted collaborator access to one hostname than to enroll them in your private network. It also means your home router does not need to advertise a pile of ports to the internet.
For server administration, no. Use a VPN or mesh network for SSH, databases, file shares, and anything that should never be reachable as a web application. The cleanest homelab design is usually a mix: Access for selected web apps, private networking for everything else.
Start with one dashboard. Remove its public port binding, put it behind a tunnel, create the narrowest policy you can, and test denial as deliberately as approval. Once that feels routine, the rest of the admin surface stops looking like a collection of login pages waiting for bots.
FAQ
Is Cloudflare Access free for a homelab?
Cloudflare offers a free Zero Trust plan that is enough for many personal setups. Check the current plan limits and features in Cloudflare’s dashboard before depending on a specific entitlement.
Does Cloudflare Access replace Grafana or application MFA?
No. Keep the application’s own accounts, strong passwords, and MFA where available. Two separate controls are much better than one shared point of failure.
Can I protect an app without opening ports on my router?
Yes. Cloudflared creates an outbound tunnel from the server, so the router does not need an inbound rule for the protected HTTP service.
Can I access the protected app by its IP address?
Not if you avoid publishing the app port and do not route it through another public reverse proxy. Test this explicitly after deployment.
Stay in the loop 📬
Get self-hosting tutorials, tool reviews, and infrastructure tips delivered to your inbox. No spam, unsubscribe anytime.
Join 0 self-hosters. Free forever.