Verify SSH Host Keys Before You Trust Your VPS
Verify SSH host keys before trusting a new VPS, handle known_hosts warnings safely, and pin server identity for unattended backups without disabling checks.
SSH host keys answer a question that gets skipped surprisingly easily: are you connecting to your server, or just to something answering at its address? Your private login key proves who you are. The server’s host key proves who you are talking to, provided you actually verify it.
I would rather stop a deployment than teach a backup script to ignore a changed server identity. This tutorial covers first contact, a rebuilt VPS, and unattended connections without reaching for StrictHostKeyChecking=no.
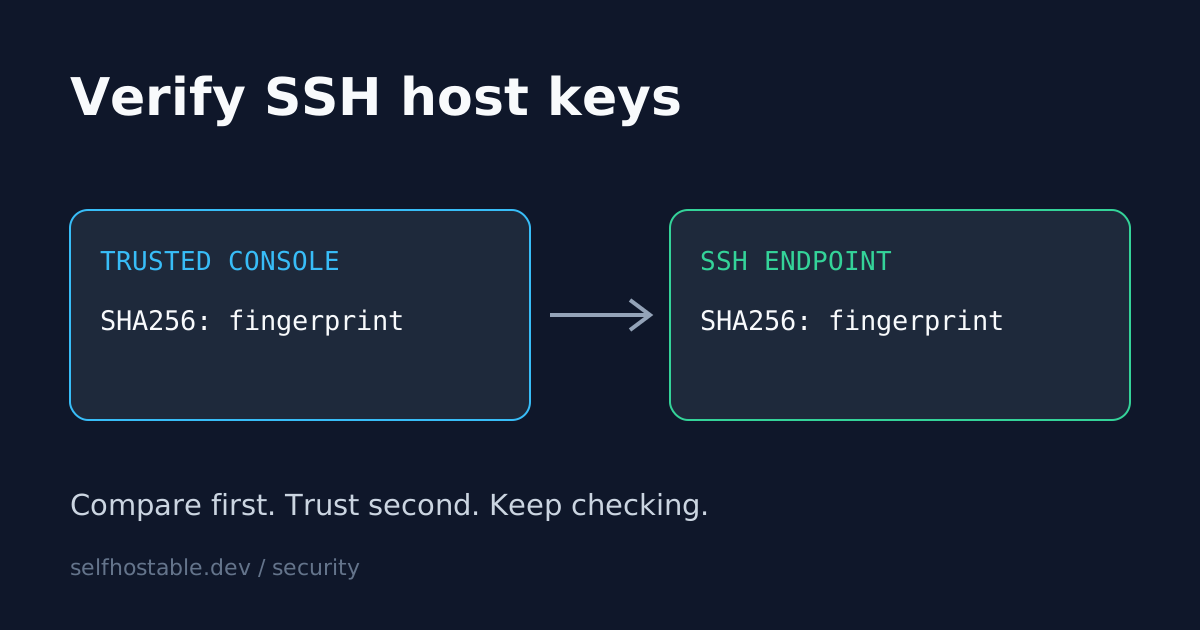
The short version: get the server fingerprint through a trusted console, compare it with the key seen over SSH, and keep checking it on later connections. A warning is a reason to investigate, not a cleanup task.
The warning is doing its job
Picture a VPS rebuild. You reinstall the operating system, reconnect from your laptop, and SSH announces that the remote host identification has changed. Deleting the old entry feels reasonable because you know you just rebuilt the machine.
That is an illustrative scenario, not an incident report from our infrastructure. The same warning can also mean an IP address was reassigned, DNS points somewhere unexpected, or a connection is being intercepted. The message alone cannot tell you which explanation is true.
This is separate from restricting SSH tunnel keys. Restricting a client credential limits its permissions on the server. Verifying a host key prevents you from blindly trusting the wrong server in the first place.
Before you start
These commands assume a Linux or macOS client with OpenSSH and a Linux VPS with an Ed25519 host key. Replace vps.example.com, admin, and port numbers with your actual values. Windows users can use OpenSSH too, but paths and file-permission commands differ.
You also need an independently trusted route to the server: typically the provider’s authenticated web console or an existing management channel whose identity was already verified. Protect the provider account with MFA. A console reached through a compromised provider account is not a trustworthy oracle.
Do not regenerate server host keys just to follow this guide. We are reading identity and managing client trust, not changing the live SSH service.
1. Read the fingerprint through the console
Open the provider console and run this on the server:
sudo ssh-keygen -lf /etc/ssh/ssh_host_ed25519_key.pub -E sha256This prints a key size, a SHA256: fingerprint, a comment, and the algorithm. The fingerprint is the value to compare; a hostname in a key comment is just a label.
The .pub suffix matters. You can share a public host key or its fingerprint. Do not copy /etc/ssh/ssh_host_ed25519_key, which is the private key.
If that public-key file is absent, inspect your server’s configured HostKey files and use the corresponding public key for an algorithm both client and server support. Do not manufacture a new identity because a tutorial used a different filename.
Record the verified fingerprint somewhere you can trust later. A note next to the server’s inventory entry is useful; an unverified message fetched from the same SSH endpoint is not independent confirmation.
2. Compare first contact before accepting it
On your laptop, request the same host-key algorithm:
ssh -o HostKeyAlgorithms=ssh-ed25519 [email protected]On a first connection, the usual interactive prompt displays the server’s fingerprint. Compare the entire SHA256: value with the console result before accepting it. If they differ, stop and check the destination, DNS, port, and console identity.
The algorithm option here keeps this demonstration unambiguous. You do not have to force Ed25519 on every future connection if your environment has a different approved algorithm policy.
Once accepted, OpenSSH records the key in your user’s known_hosts file. Later connections can compare the server against that record. This is trust on first use with an independently checked first use, not blind trust in whatever answered fastest.
I prefer this small manual check over a clever one-liner that quietly turns an unknown server into a trusted one. It is harder to accidentally approve the wrong fingerprint when approval is an explicit step.
3. Understand what ssh-keyscan does not prove
ssh-keyscan is useful for collecting a public key. It does not authenticate that key. Running it against an attacker-controlled endpoint happily collects the attacker’s key.
This distinction matters when provisioning a new laptop or preparing a job-specific trust file:
mkdir -p ~/.ssh
chmod 700 ~/.ssh
ssh-keyscan -T 5 -t ed25519 vps.example.com > ~/.ssh/vps.candidate
ssh-keygen -lf ~/.ssh/vps.candidate -E sha256
Compare the printed fingerprint with your independent console result. If the scan returns multiple records, verify every record you intend to trust. An empty file or failed lookup is a failure, not a reason to disable checking.
Only after the comparison succeeds should you copy that candidate into a dedicated trust file:
install -m 600 ~/.ssh/vps.candidate ~/.ssh/known_hosts_vps
rm ~/.ssh/vps.candidate
Use a new dedicated file for this example. install replaces its destination, so do not aim it at an existing shared known_hosts file that contains other servers.
The ssh-keyscan manual explicitly warns about building trust files without verifying keys. Scanning is collection. Verification is the security step.
4. Pin identity for an unattended job
A backup job cannot answer an interactive question safely. Give it a verified trust file and require a match instead.
Create the following client configuration in ~/.ssh/config, placing this specific block before broad Host * defaults:
Host backup-vps
    HostName vps.example.com
    User admin
    IdentityFile ~/.ssh/backup_vps
    IdentitiesOnly yes
    BatchMode yes
    StrictHostKeyChecking yes
    UserKnownHostsFile ~/.ssh/known_hosts_vps
    UpdateHostKeys no
The identity file is a separate client login key that must already be authorized on the server. Creating a trust file does not grant login access. For a real backup account, use narrow permissions rather than copying this example’s administrator username unchanged.
StrictHostKeyChecking yes refuses unknown or changed host keys instead of adding them automatically. BatchMode yes disables interactive authentication prompts. Together, they make a trust problem fail the job instead of waiting for input or silently accepting a new identity.
UpdateHostKeys no makes this example deliberately static. It means you must maintain the pinned file during rotation; it is not a universal recommendation to disable OpenSSH’s rotation mechanism.
Inspect the effective settings without opening a connection:
ssh -G backup-vpsThen test authentication and identity together:
ssh backup-vps trueThat command should finish successfully only if the server matches a trusted key and the account permits the command. If your dedicated account intentionally forbids command execution, use an allowed backup operation as the acceptance test instead.
Run the check as the actual user running the scheduled job. Root’s SSH configuration is not your login user’s configuration, and a systemd service may have a different home directory. Our systemd timers guide covers that scheduling boundary.
5. Handle a changed host key without guessing
First, confirm whether a rebuild, host migration, or key rotation was expected. Check the hostname, resolved addresses, and provider inventory. A familiar domain does not prove that the endpoint behind it is still the right machine.
Next, use the trusted console again to obtain the new public-key fingerprint. Compare it with the newly presented key or with a candidate collected using the earlier scan procedure. Do not remove the old trust entry until you have a verified replacement.
For the normal client trust file, inspect an existing entry with:
ssh-keygen -F vps.example.com -f ~/.ssh/known_hostsBack up that file before changing it:
cp -p ~/.ssh/known_hosts ~/.ssh/known_hosts.before-vps-change
ssh-keygen -R vps.example.com -f ~/.ssh/known_hosts
Reconnect and compare the fingerprint again before accepting it. Removing a record does not establish the identity of its replacement; it merely removes your old reference.
For the dedicated job file, replace it with the newly verified candidate using the earlier install command. Keep the job stopped while its trust is being repaired, then rerun its acceptance test.
Hashed entries are not a reason to edit random lines by hand. ssh-keygen -F and -R understand hashed hostnames. Hashing obscures names in a leaked file; it does not strengthen the underlying server identity check.
Nonstandard ports and multiple names
For a server on port 2222, collect the key with:
ssh-keyscan -T 5 -p 2222 -t ed25519 vps.example.comOpenSSH represents that endpoint as [vps.example.com]:2222 in known_hosts. Use that exact form when searching or removing entries:
ssh-keygen -F '[vps.example.com]:2222' -f ~/.ssh/known_hostsAdd Port 2222 to the client configuration too. The Host backup-vps alias selects settings; with the configuration above, the hostname stored for verification is normally vps.example.com, not the alias. HostKeyAlias changes that behavior, so inspect existing configuration before assuming which entry is in use.
Connecting by IP address creates another naming case. Do not assume trusting a DNS name automatically populates every address and alias you might use. Keep your automation’s connection naming consistent.
Rotation is easier before the old key disappears
OpenSSH’s UpdateHostKeys feature can learn additional server host keys after authentication over an already trusted connection. This supports a planned overlap: advertise the replacement while the old key still works, allow clients to learn it, then retire the old key later.
That is not the same as accepting a new key after the trusted one has vanished. The ssh_config manual documents the conditions, including trust-file and host-certificate limitations. Read those before treating the feature as automatic fleet management.
For a small homelab, explicit fingerprint verification may be enough. For a larger fleet, consider host certificates and a deliberately managed host CA. Our SSH certificates article discusses certificate-based access; host certificates require their own server-identity trust design rather than just reusing a client-login recipe.
A VPN does not replace server identity
A private network reduces exposure. It does not make a changed SSH key harmless. Keep host verification enabled whether you connect over the public internet, WireGuard, or a mesh VPN.
A commercial VPN addresses a different concern: outbound traffic privacy on networks you do not trust. It does not validate your VPS fingerprint, grant private access to your homelab, or repair a suspicious SSH warning.
🚀NordVPN
An option for outbound privacy on untrusted networks, not a substitute for verifying your SSH server's identity.
Affiliate link — we may earn a commission at no extra cost to you.
Your next step
Pick one server and record its host-key fingerprint through a trusted console. Compare it from your laptop, then check that one unattended job uses a verified trust file with strict checking enabled.
The goal is not to make SSH warnings disappear. It is to know which machine you are trusting, and to notice when that answer changes.
Stay in the loop 📬
Get self-hosting tutorials, tool reviews, and infrastructure tips delivered to your inbox. No spam, unsubscribe anytime.
Join 0 self-hosters. Free forever.